The first time you visit the back end of your new WordPress site, you might find yourself a little overwhelmed. You’ll see plenty of links and options, and you may not be sure what to do first.
As you’ll soon discover, however, WordPress is a beginner-friendly and easy-to-use platform. Once you’ve spent a little time familiarizing yourself with the different sections of the back end, as well as the various features and settings that are available, you’ll feel much more comfortable. WordPress makes it simple to orient yourself quickly, so you can get straight to designing your site and adding content.
In this article, we’ll streamline the process for you by pointing out the key features of the WordPress back end and explaining how to use them. Let’s start with the dashboard!
Step 1: Familiarize Yourself With the Dashboard
The WordPress Dashboard is the first screen you’ll see when you log in to your site and view the back end. It’s a helpful hub area with useful shortcuts and basic information about your site. On your first visit, you’ll see a box at the top labeled Welcome to WordPress:

This box displays links to important sections of the back end that will let you customize your site’s appearance, create posts and pages, and more. All of these features are also accessible from the main menu to the left, which we’ll get to shortly.
The dashboard will also let you see recent activity and comments in the Activity widget, and find out how many posts, pages, and comments are currently on your site in At a Glance. You can start a new blog post in the Quick Draft box if you’d like, or read up on the latest developments in WordPress News:

Each of these widgets can be moved around if you don’t like the way they’re organized – simply click on one and drag it to a new spot. You can also remove unwanted widgets completely by clicking on Screen Options in the top right corner of your dashboard. You’ll find the Help tab in the same place – this appears on every page in the back end, and is the first thing you should check out if you ever find yourself confused by a setting or feature while working on your site.
Step 2: Customize Your Website’s Settings
Now let’s start exploring the menu on the left side of your WordPress back end. If you click on Settings, you’ll see six sub-sections. This is where you’ll change important settings for your site. We won’t go over all of them right now, but we’ll point out a few key features to start with.
When you clicked on Settings, you were taken to the General Settings sub-section. Here you can change your site’s title and tagline, as well as other basic information like your admin email address:
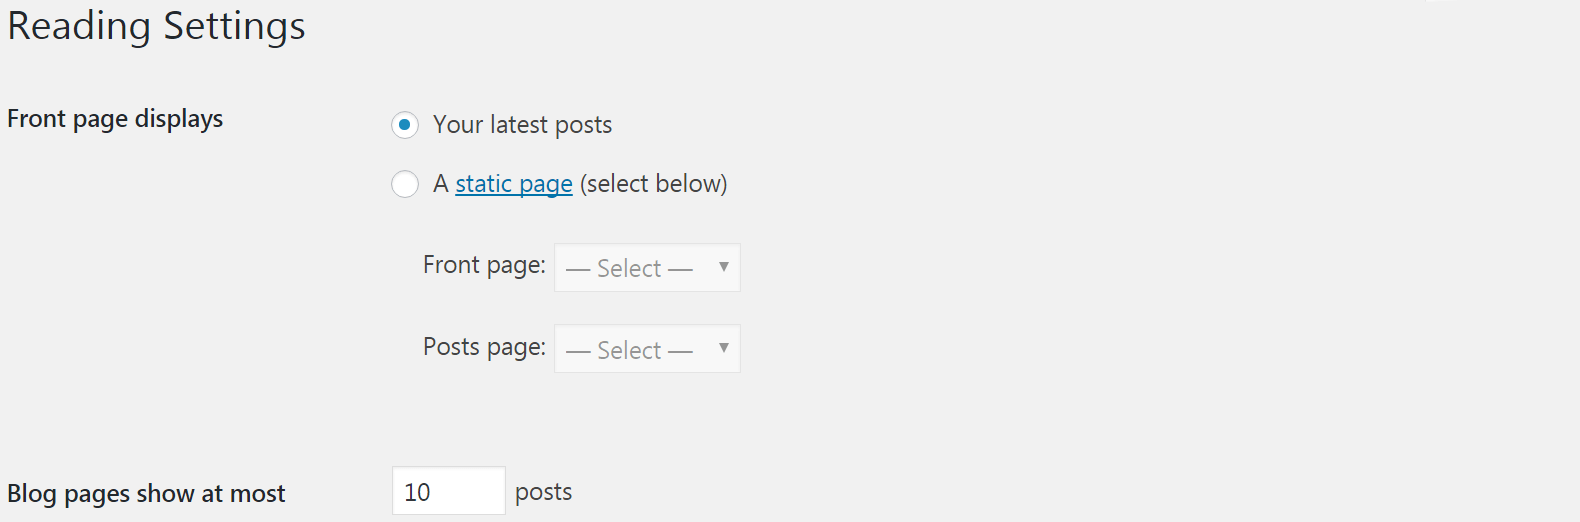
In the Reading tab, you can set how many blog posts show up on each page. You can also determine what your site’s home page will be – by default it’s a list of your latest posts, but you can change it to show a static page instead:
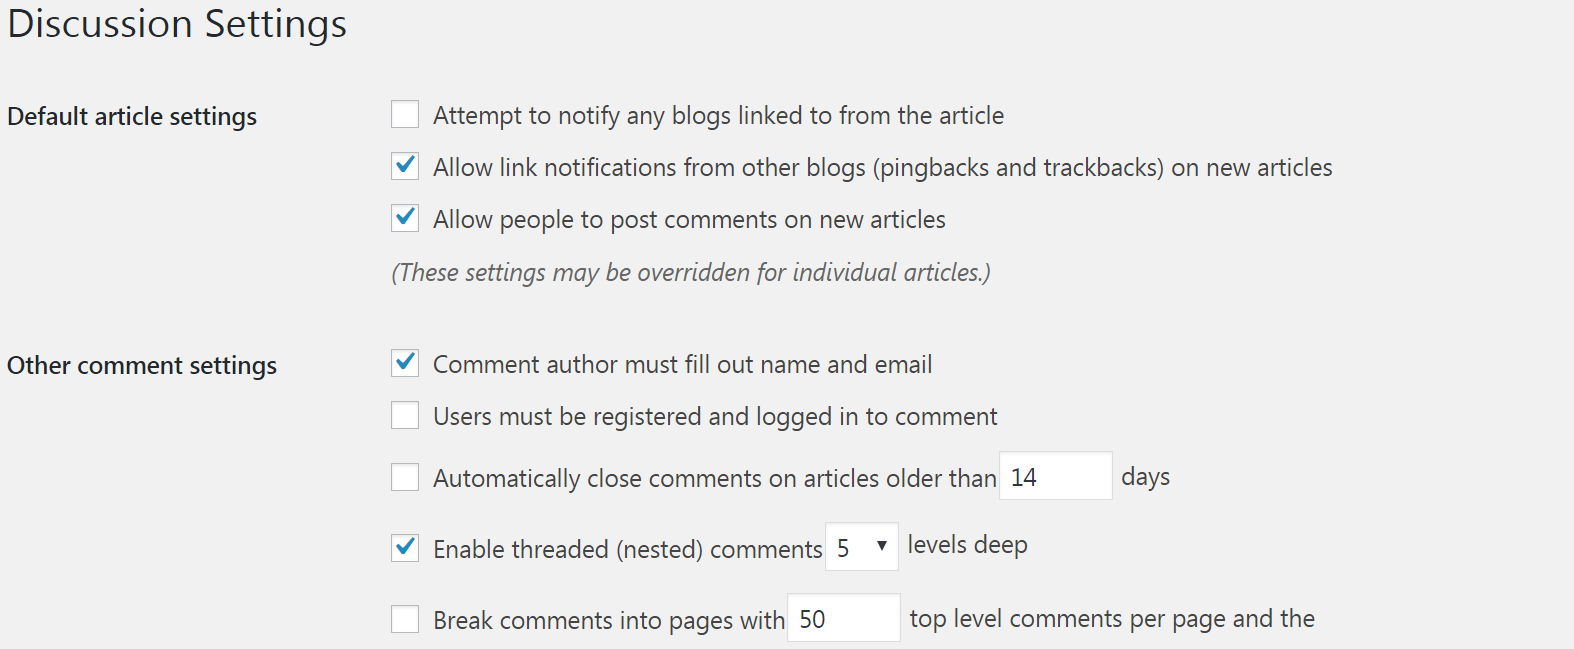
Finally, head to the Discussion sub-section. On this page you can enable or disable pingbacks and trackbacks, and you can turn comments on or off. You also have access to a lot of other comments-related options here – you can decide whether users will need to log in or provide personal information before they comment, for example, and you can change approval and moderation settings:
Continue to explore the Settings tab at your own pace if you want, but don’t feel like you have to understand everything right now. Some of the options here are advanced settings you may never need to touch. If you want to change something about how your site functions in the future, however, this is the first place to check. You can also find more information about specific settings in the WordPress codex.
Step 3: Check Out the Appearance and Plugins Tabs
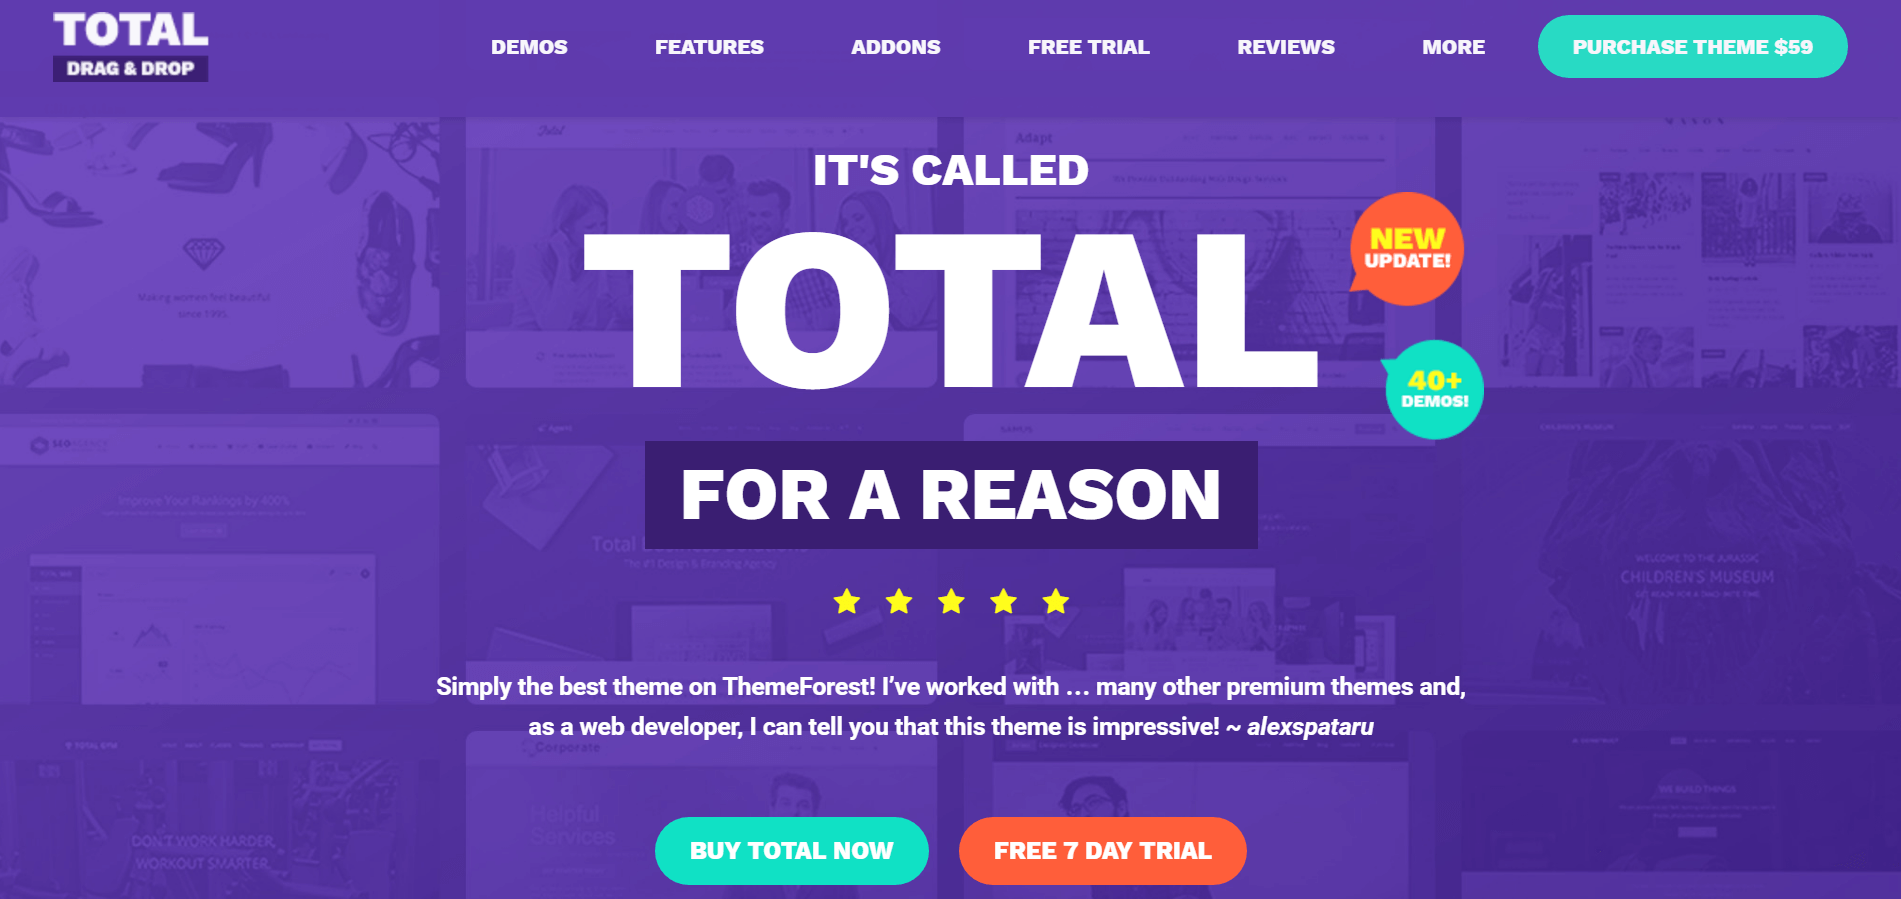
Total is an excellent example of a WordPress theme that enables you to customize your website’s appearance.
We’ll talk more about themes and plugins in a later post in this series. To keep it simple for now, themes and plugins are tools that can alter the way your site looks and functions. Themes affect the appearance and layout of your site, while plugins add features and alter what your site can do. For example, you could use a theme that simplifies your website to a single page or gives you access to a layout designed specifically for photography sites, and you could install a plugin that adds e-commerce functionality to your site or integrates your blog with social media.
If you click on the Appearance tab, you’ll see that the first sub-section is Themes. This is where you can download and activate themes for your site. A few defaults will already be installed – you can hover over one and choose Activate to try it out, or select Customize to edit your current theme:
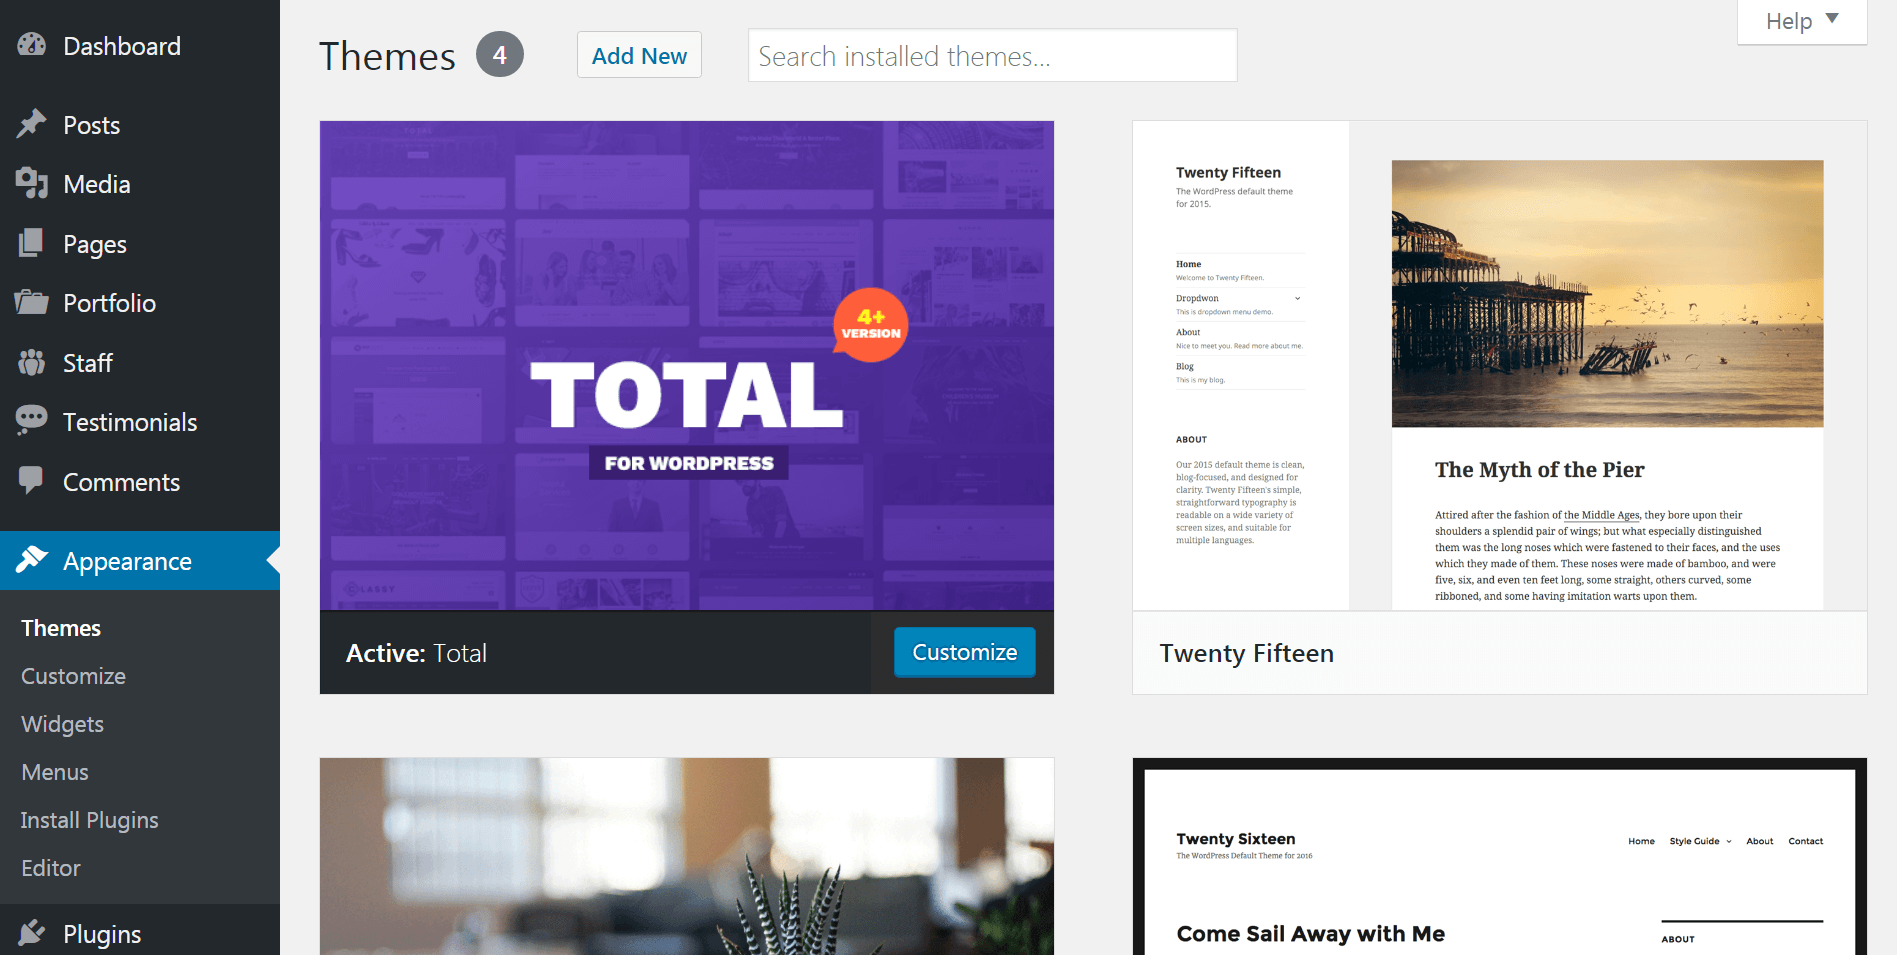
Depending on the theme you’re using, you may have a lot of extra option in the WordPress live Customizer. For example, the Twenty Fifteen theme only offers a few key options for background colors, logo, etc. The Total WordPress theme on the other hand includes hundreds of added options for custom typography, image cropping, site widths/layout, custom colors for just about everything and more.
The Appearance tab is also the place where you can customize your site’s header and menus, and it’s where you can add widgets. Menus make it easier for your readers to navigate to the most important pages on your website. Widgets add extra content to your sidebar and/or footer (examples include about me, social links, recent posts, tags, categories, etc).
Now head over to the Plugins tab. Here you can install new plugins by choosing Add New, or you can manage your existing plugins:
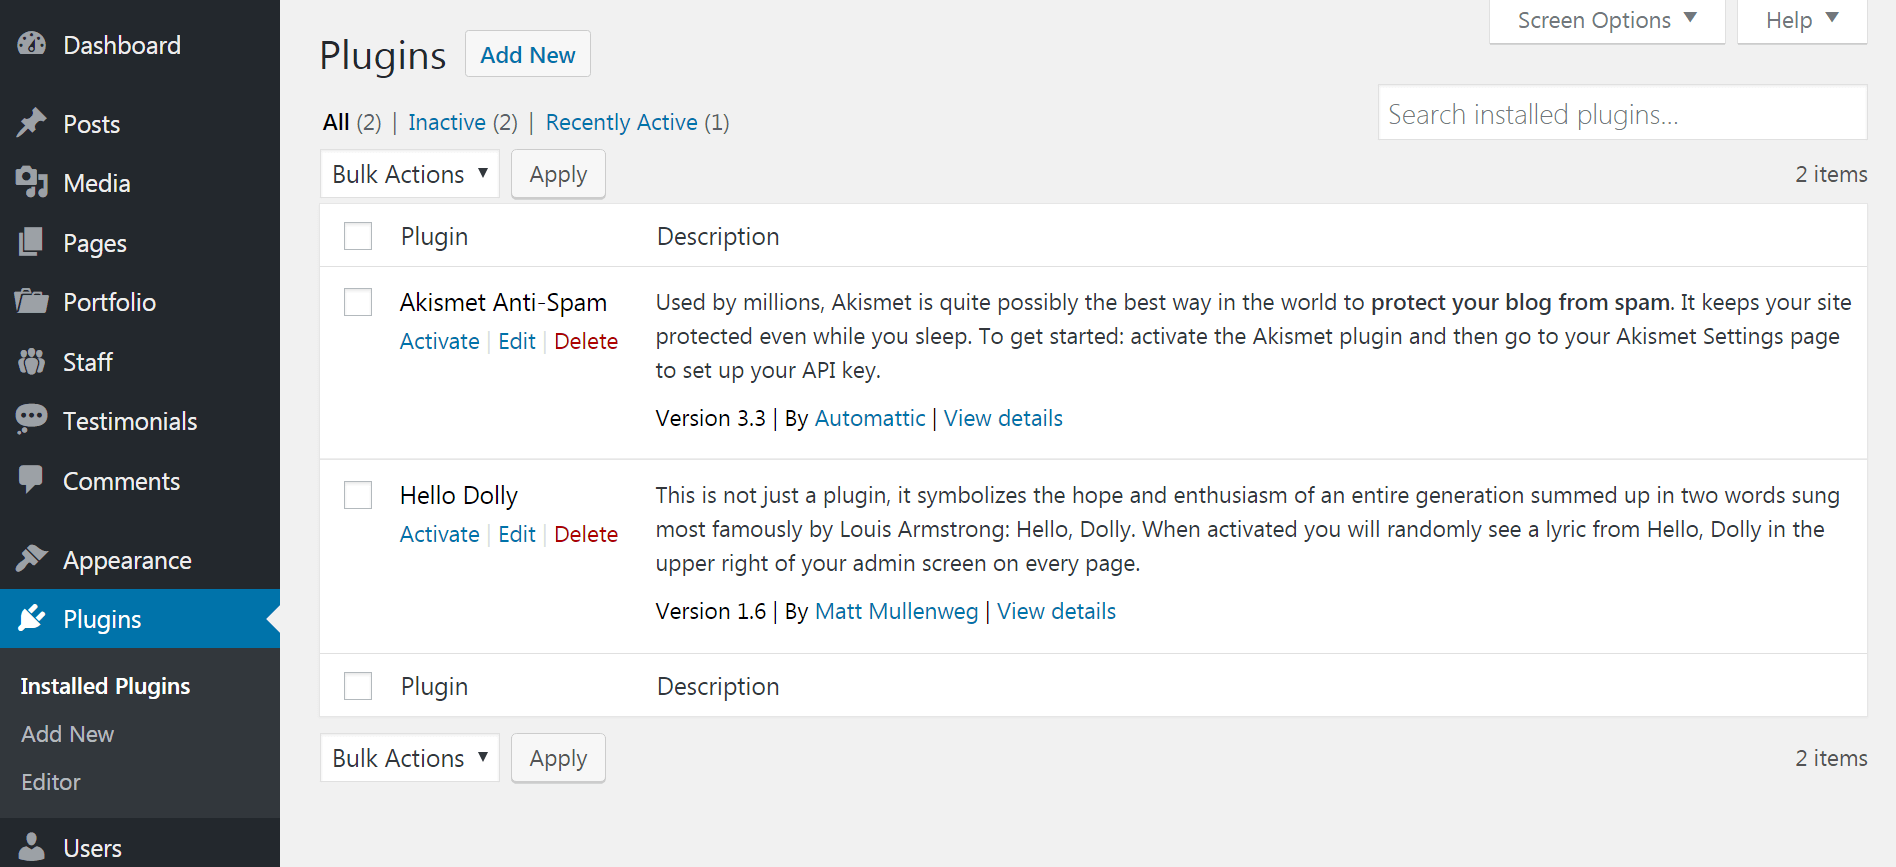
The Akismet anti-spam plugin comes pre-installed with WordPress – it is an excellent tool to combat spam on your site. All you have to do to turn a plugin like this on is click Activate (although there will often be additional setup steps).
Step 4: Start Creating Content!
Finally, it’s time to learn how to add content to your site. You can create two main types of content in WordPress: posts and pages. Posts are blog entries that are archived and categorized, while pages are static sections of your site such as a Home page or About page.
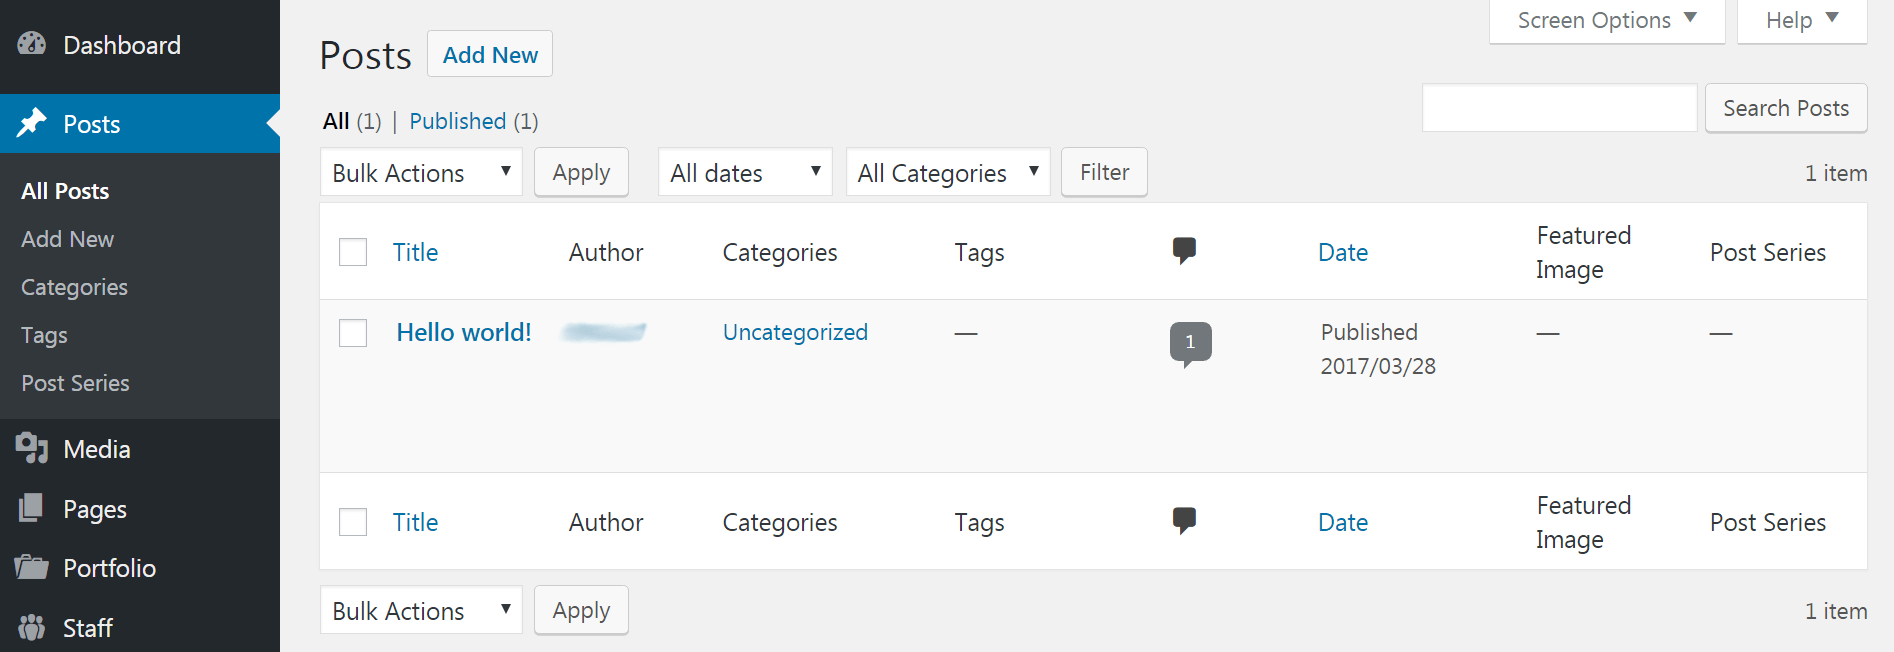
Naturally, the place to go to create blog posts is the Posts tab. Here you can start a new post by selecting Add New. You can also sort, edit, and delete your older posts. In addition, you can create categories and tags to organize your content by navigating to the respective sub-sections:
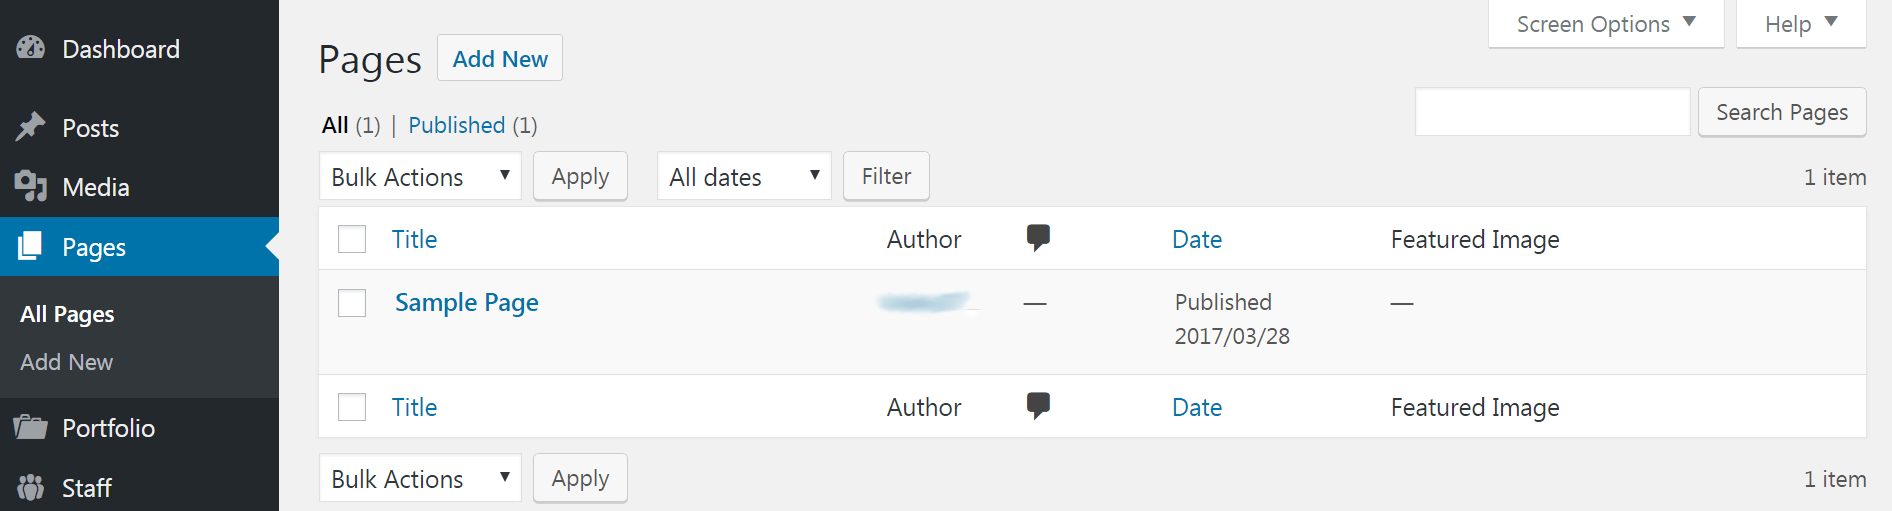
To create a static page instead, navigate to the Pages tab. In this section you can create a new page, as well as sort, edit, and delete existing pages:
For now, we recommend clicking on the sample post and page in these sections and looking around to get a feel for how these types of content work. We’ll discuss creating posts and pages in more detail in an upcoming post.
Conclusion
There’s a lot to do and see in the WordPress back end – so much that you might not be sure where to start. Fortunately, WordPress makes it easy to get accustomed to the platform by clearly organizing key features and settings, and by including helpful links in the dashboard.
Four simple steps are all it will take to begin feeling comfortable with your WordPress back end:
- Familiarize yourself with the dashboard.
- Customize your website’s settings.
- Check out the Appearance and Plugins tabs.
- Start creating content.
Do you have any questions about how to use the WordPress back end? Ask away in the comments section below!
No comments:
Post a Comment